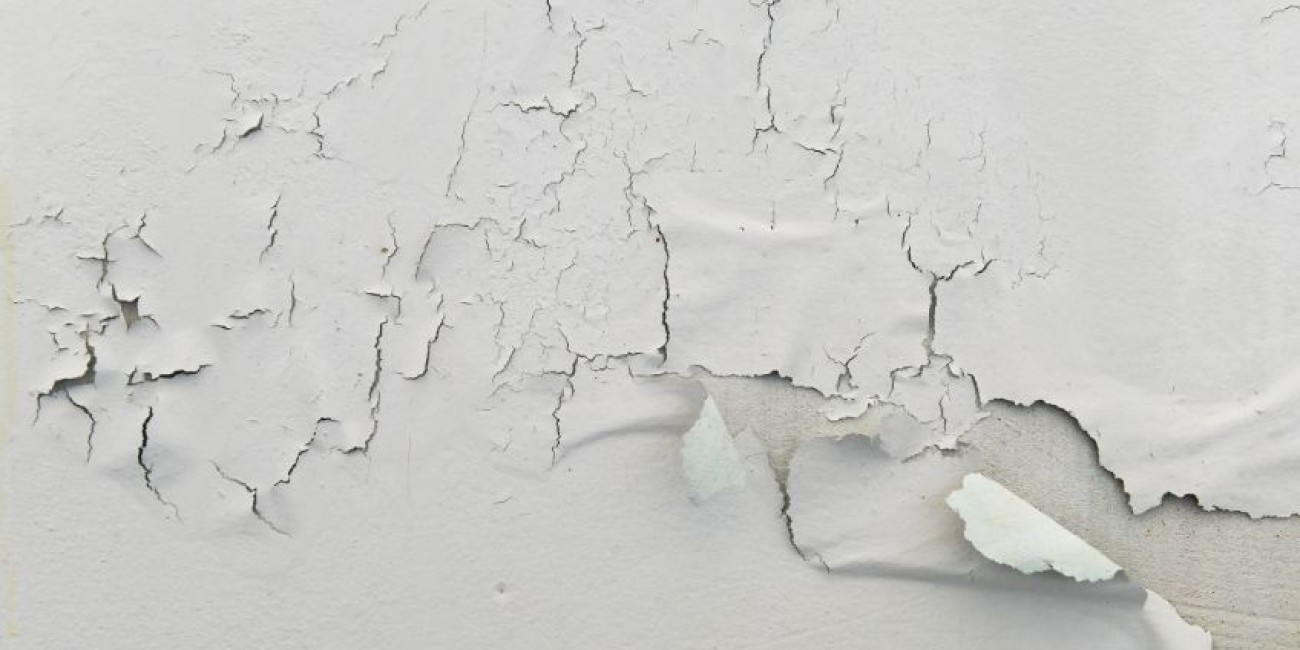
Does the sight of unsightly cracks marring your once pristine walls fill you with dismay? Fret not, for in this comprehensive guide, we will delve into the intricacies of paint repair, empowering you with the knowledge and techniques to restore your walls to their former glory.

Image: www.jlcatj.gob.mx
Paint, a canvas for our imaginations and a protective barrier for our homes, can succumb to the relentless march of time and the inevitable bumps of life, resulting in unsightly cracks. But fear not, with the right approach and a touch of patience, you can breathe new life into your walls, banishing those pesky imperfections.
Understanding the Causes of Cracked Paint
Before embarking on the repair journey, it’s essential to understand the root causes of paint cracking. These can range from:
-
Foundation Issues: Structural shifts or settling can lead to cracks in walls, which manifest as cracks in the paint.
-
Temperature Fluctuations: Extreme temperature variations, such as those between seasons, can cause paint to expand and contract, resulting in cracking.
-
Moisture Issues: Leaks or high humidity can soften paint, making it more susceptible to cracking.
-
Poor Paint Application: Improper preparation or application techniques, such as using old paint or not allowing sufficient drying time, can weaken the paint’s adhesion to the wall.
Step-by-Step Guide to Repairing Cracked Paint
Now, let’s delve into the practical steps involved in repairing cracked paint:
-
Safety First: Don your painting overalls and mask to protect yourself from dust and paint particles. Open windows for ventilation.
-
Preparation is Key: Begin by cleaning the affected area with a sponge or damp cloth to remove any dirt or debris. Let the surface dry thoroughly.
-
Test for Stability: Use a putty knife to gently probe the edges of the cracks. If the paint flakes off easily, additional preparation may be required, such as removing loose paint or scraping away flaky areas.
-
Patching Time: Mix a small amount of spackling paste according to the manufacturer’s instructions and apply it to the cracks using a putty knife. Smooth the paste over the cracks, ensuring it fills them completely.
-
Smoothing the Surface: Once the patches have dried, sand them lightly with fine-grit sandpaper to create a smooth and even surface. Wipe away any dust with a damp cloth.
-
Primer Time: Apply a coat of primer to the patched areas and allow it to dry thoroughly. Primer strengthens the bond between the paint and the surface, ensuring a durable finish.
-
Repainting with Care: Apply a fresh coat of paint to the patched area, using a brush or roller. Allow the paint to dry completely before applying additional coats as needed.
-
Finishing Touches: Once the paint has dried thoroughly, remove any masking tape and touch up any areas that require additional paint. Stand back and admire your rejuvenated walls, free from the unsightly cracks of the past.
Expert Tips for Flawless Results
To ensure your paint repair project yields the best possible results, heed these expert tips:
-
Choose the Right Filler: For minor cracks, a spackling paste should suffice. For larger cracks, consider using a joint compound or caulk.
-
Don’t Overwork the Filler: Apply the patching material sparingly and avoid overworking it, as this can weaken the bond.
-
Don’t Rush the Drying Process: Allow ample time for each step to dry thoroughly before moving on. Rushing the process can compromise the repair’s durability.
-
Consider the Paint Type: Use a paint type compatible with the existing finish. For example, if the existing paint is latex, use a latex primer and paint.
-
Don’t Be Afraid to Experiment: Every wall is different, so don’t hesitate to adjust the technique or materials as needed to achieve the best results.

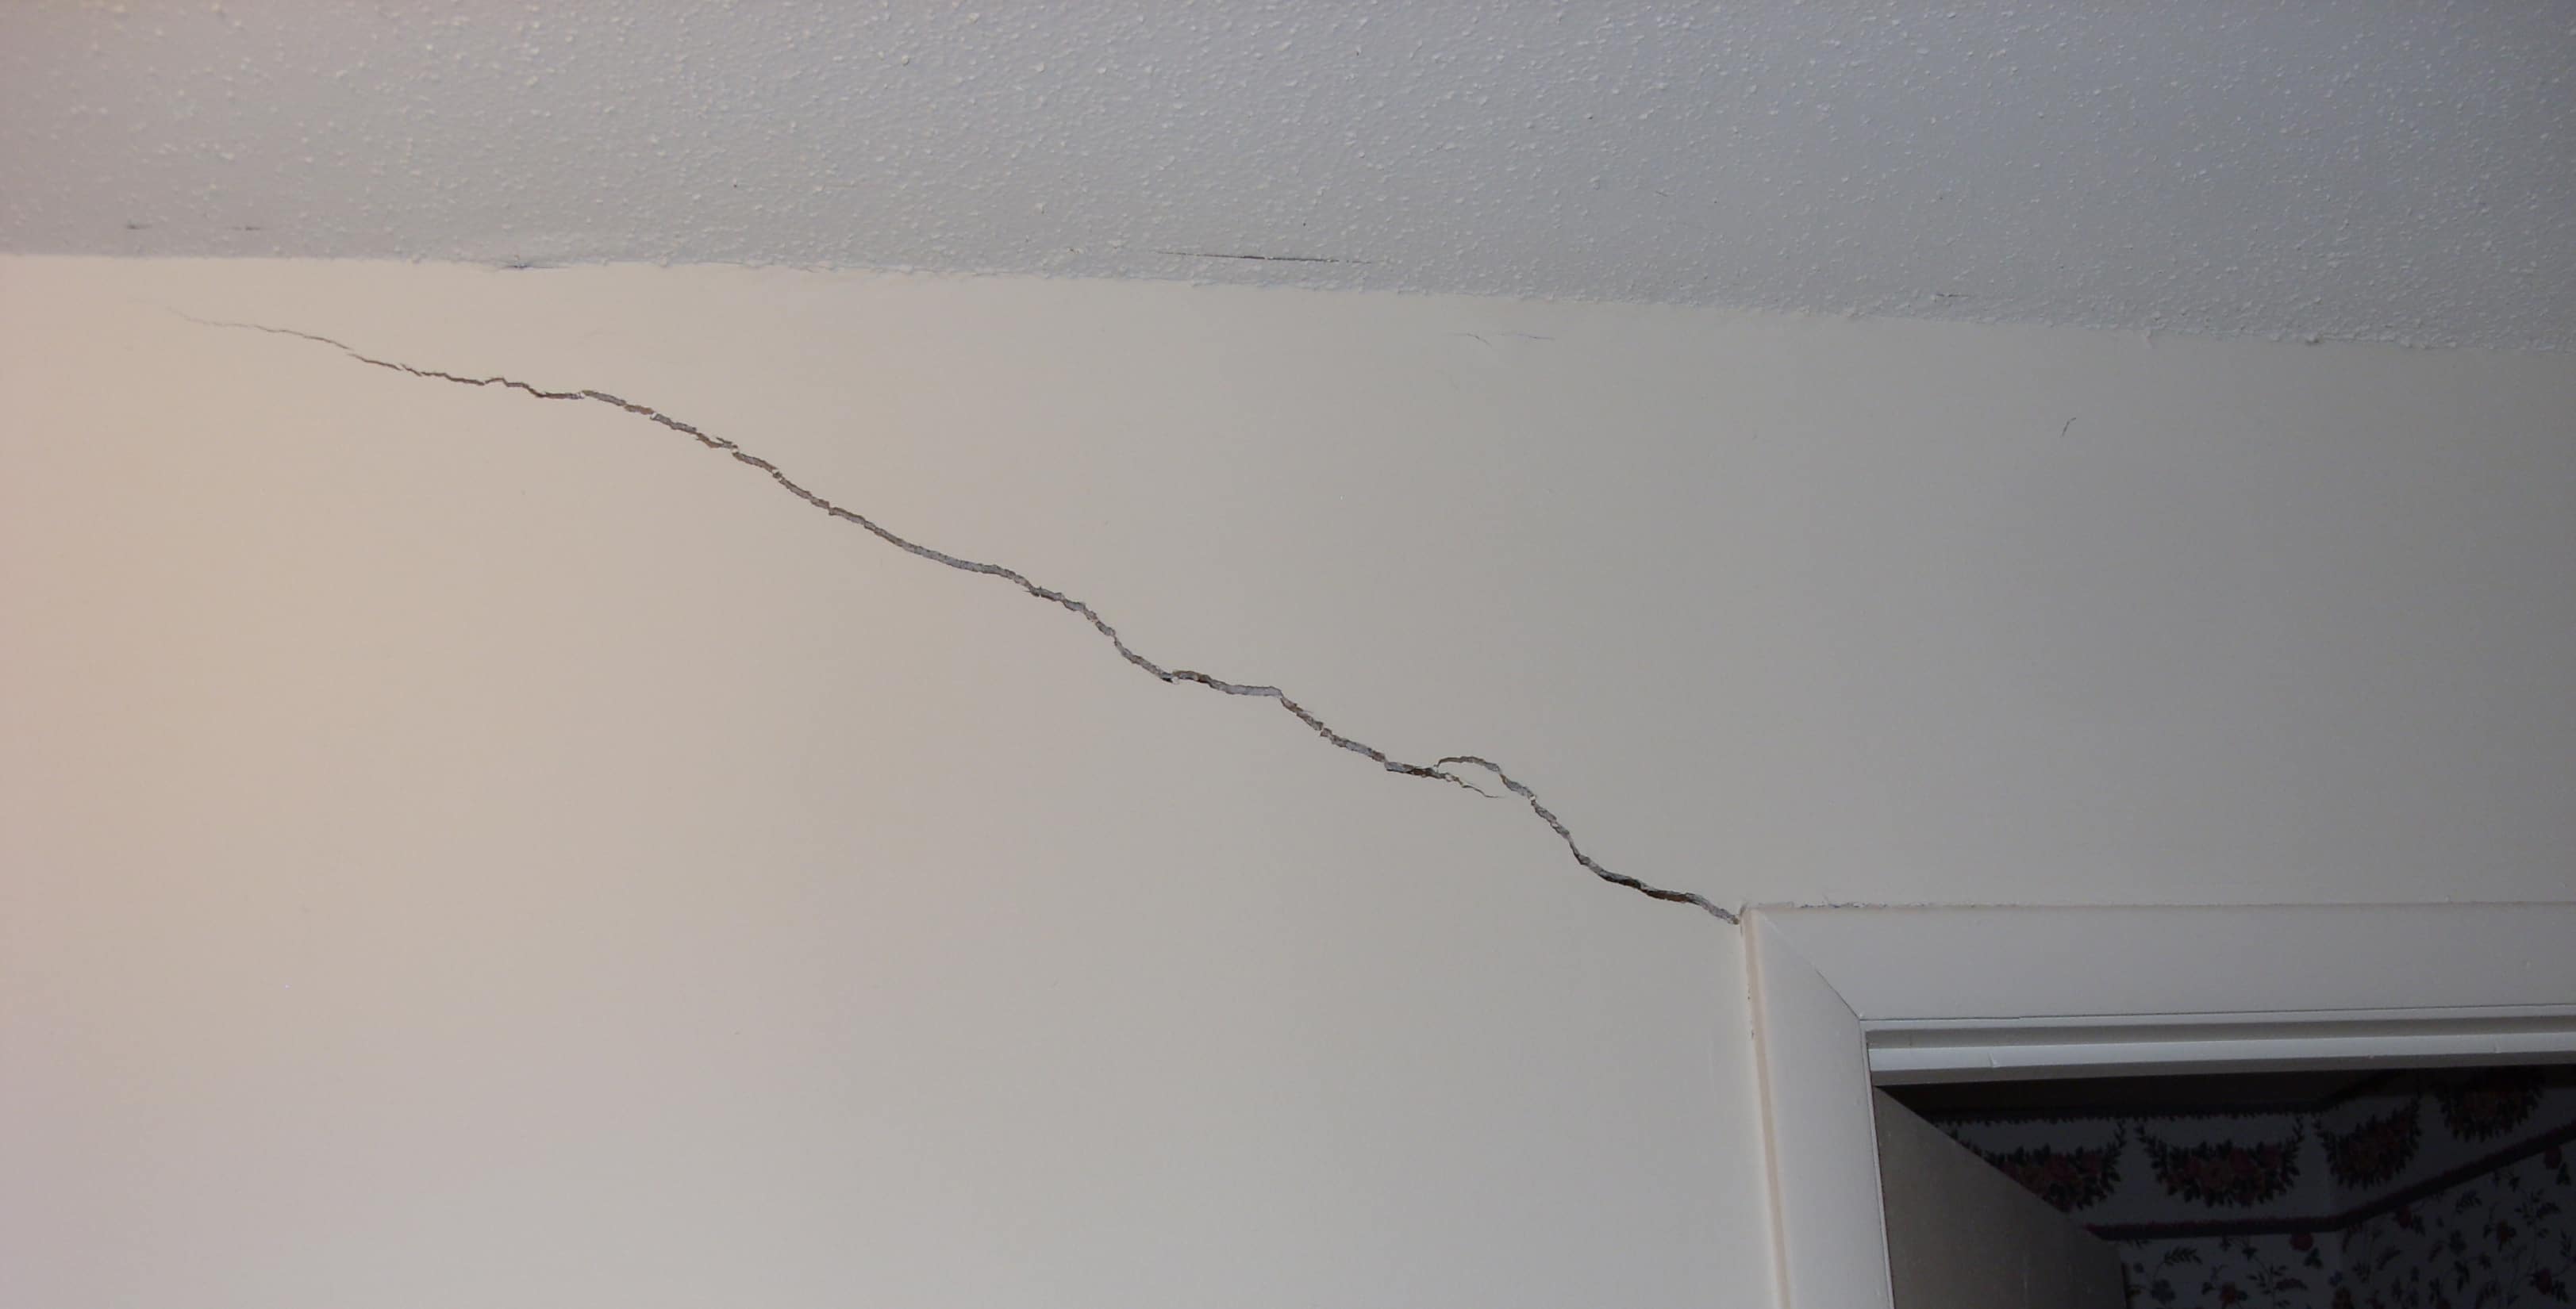
Image: www.gopaintingcompany.com
How To Fix Cracked Paint On Walls
Conclusion
Restoring cracked paint on walls is a rewarding project that transforms your living spaces. By understanding the causes of cracking, following the step-by-step guide, and applying expert tips, you can banish those unsightly blemishes and restore your walls to their pristine condition. Remember, with patience and attention to detail, your walls will regain their former glory, radiating beauty and providing a fresh canvas for your creativity.