Scratched mirrors, whether adorning our cherished furniture, vanity tables, or bathroom walls, can detract from their aesthetic appeal and functionality. However, with the right techniques and a bit of patience, these blemishes can be skillfully remedied, restoring mirrors to their former glory. This detailed guide will equip you with the knowledge and step-by-step guidance to effectively fix scratched mirrors.
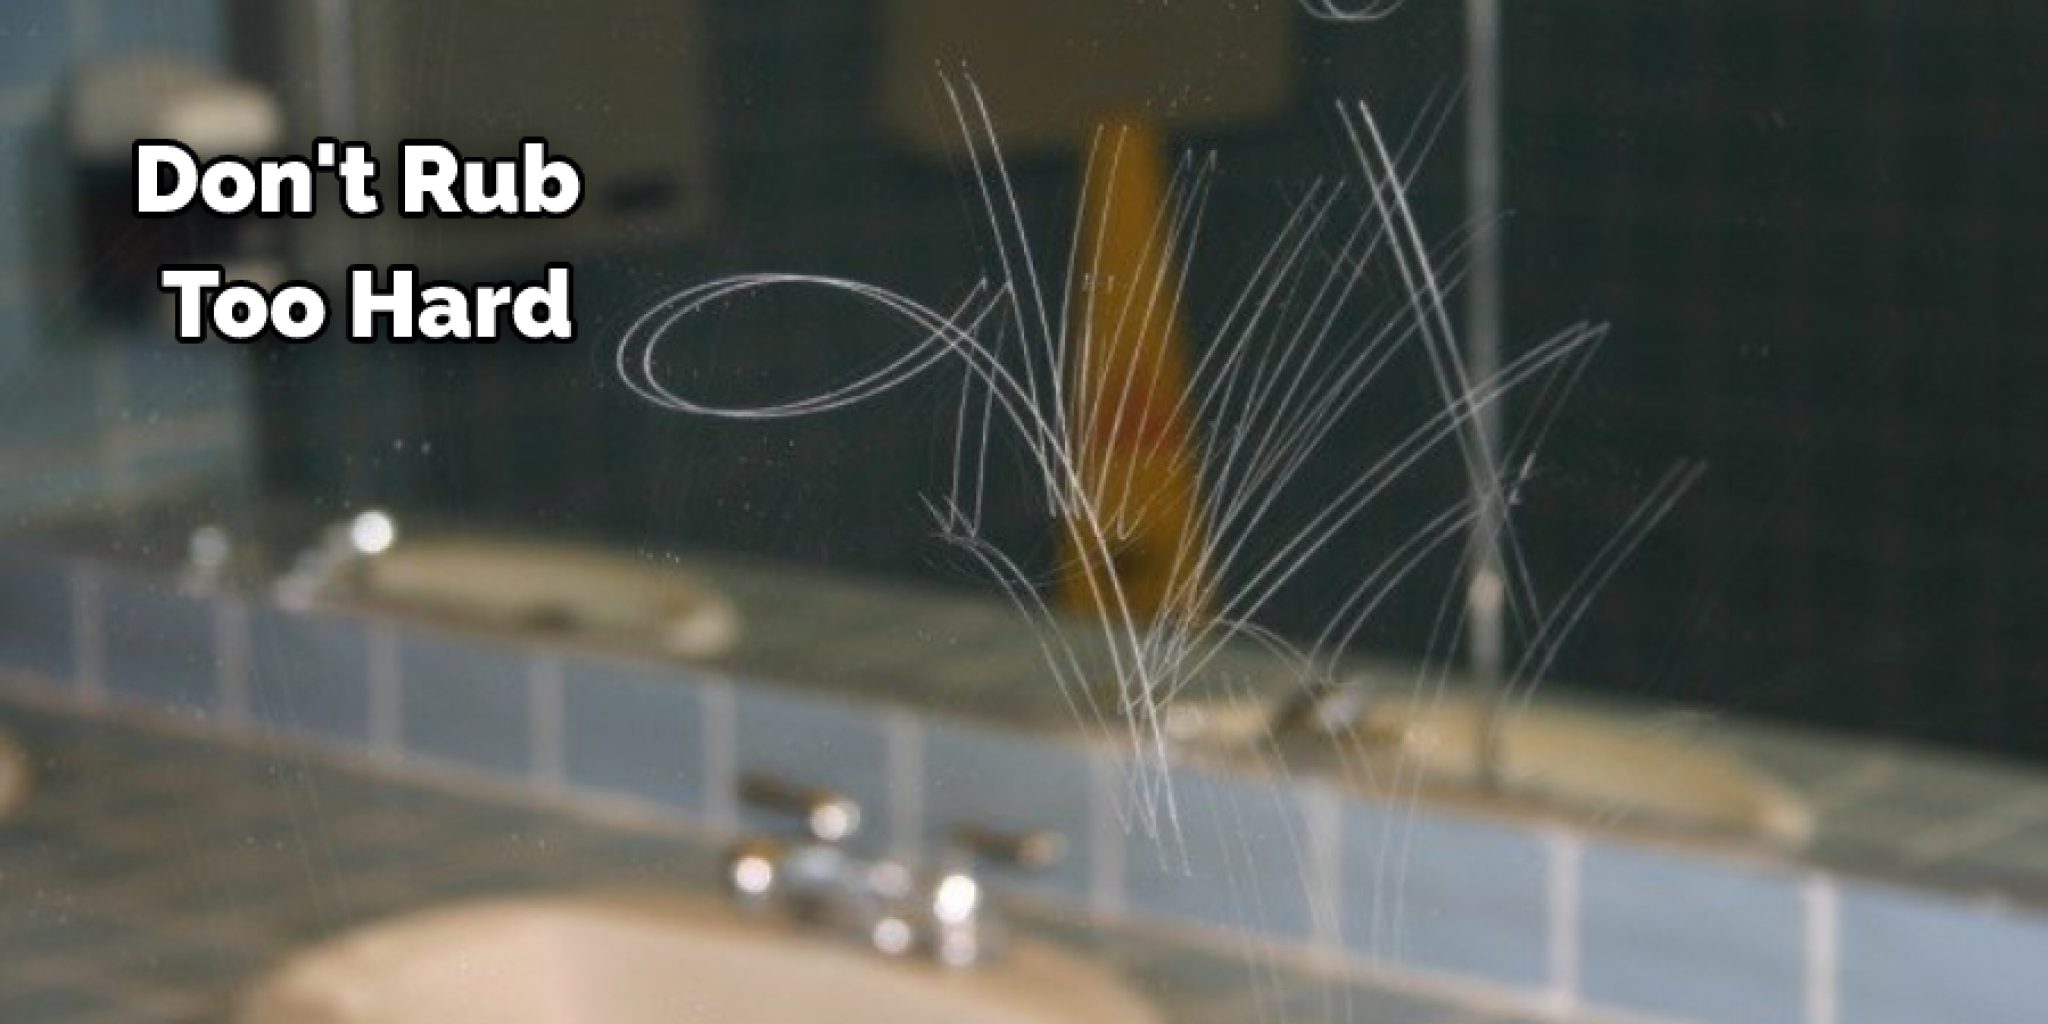
Image: diyquickly.com
Understanding Mirror Types and Scratches
The type of mirror you intend to restore plays a crucial role in selecting the appropriate repair method. Mirrors are generally classified into two main categories: coated and uncoated mirrors.
Coated Mirrors: These mirrors have a reflective coating applied to the back of the glass, creating the reflective surface. Scratches on coated mirrors typically appear as dark lines or streaks, as the protective coating has been compromised.
Uncoated Mirrors: These mirrors consist of a single layer of glass, with the reflective surface created by a metallic coating directly applied to the front of the glass. Scratches on uncoated mirrors are more noticeable, as the metallic coating has been damaged, leaving visible grooves in the glass.
Assessing Scratch Severity
Before embarking on the repair process, it is essential to assess the severity of the scratches.
1. Shallow Scratches: These scratches are typically barely visible and do not significantly affect the mirror’s functionality. They can often be removed using mild abrasives or polishing agents.
2. Medium Scratches: These scratches are more noticeable and may slightly distort reflections. They require a more abrasive approach, such as wet sanding with finer sandpaper.
3. Deep Scratches: These scratches are prominent on the mirror’s surface and can significantly impair its image quality. They demand a multi-step repair process involving coarse sanding, filling, and polishing.
Step-by-Step Repair Guide
1. Safety Precaution: Always wear safety goggles and gloves when handling glass and chemical solutions. Work in a well-ventilated area to avoid inhaling fumes.
2. Cleaning the Surface: Use a clean, soft cloth and a mild glass cleaner to thoroughly remove dirt, dust, and fingerprints from the mirror’s surface.
3. Shallow Scratches:
Using Toothpaste: Apply a small amount of non-gel, white toothpaste to a clean cloth and gently rub it in small circular motions over the scratch. Rinse the area with water and repeat the process as needed.
Using Baking Soda: Create a paste by mixing equal parts baking soda and water. Apply the paste to the scratch and let it sit for 10-15 minutes. Gently rub the area in circular motions using a clean cloth, then rinse thoroughly with water.
4. Medium Scratches:
Wet Sanding: Wet sanding involves using increasingly finer grades of sandpaper to gradually remove the scratch. Start with 2,000-grit sandpaper and move gradually to finer grits (2,500, 3,000, or even higher if necessary). Wet the sandpaper and the mirror surface, and carefully sand in small circular motions, applying light pressure. Keep the sandpaper moving to prevent creating new scratches.
Using a Polishing Compound: Once the scratches have been sanded out, apply a polishing compound to a clean cloth and gently rub over the area using small circular motions. Continue polishing until a clear and glossy finish is achieved.
5. Deep Scratches:
Filling: Use a mirror repair kit, which typically includes a resin filler and a smoothing tool. Apply the resin filler to the scratch and spread it evenly using the smoothing tool. Allow it to dry completely, which may take several hours or overnight.
Sanding and Polishing: Once the filler has dried, use wet sanding techniques to smooth out the repair area. Gradually move to finer grits of sandpaper, starting with 1,000-grit and moving to 2,000-grit or finer. Finish with polishing compound to achieve a smooth and shiny finish.
![How to Fix a Scratched Mirror Back? [4 Step Guide]](https://www.instraight.com/wp-content/uploads/2022/10/How-to-Fix-Scratched-Mirror-Back.jpg)
Image: www.instraight.com
Prevention: Maintaining Pristine Mirrors
Preventing scratches from occurring in the first place is crucial for maintaining the pristine condition of mirrors. Here are some preventive tips to follow:
1. Regular Cleaning: Regularly clean mirrors using a mild glass cleaner and a soft, lint-free cloth to remove dust and dirt buildup. Avoid using abrasive cleaners or rough cloths, as they can scratch the surface.
2. Careful Handling: Always handle mirrors with care, especially during cleaning or transportation. Use both hands when lifting large mirrors, and avoid leaning them against walls or placing heavy objects on their surface.
3. Protection: When not in use, cover mirrors with a soft cloth or dust cover to protect them from dust and accidental scratches.
How To Fix Scratched Mirror
Conclusion
Restoring scratched mirrors to their former glory is an achievable task with the proper guidance and techniques. By understanding different mirror types, assessing scratch severity, and following the step-by-step repair methods outlined in this guide, you can effectively repair scratched mirrors, enhancing their aesthetic appeal and prolonging their lifespan. Remember, regular cleaning and careful handling practices are essential for maintaining pristine mirrors that reflect the true beauty of your space.
