Introduction
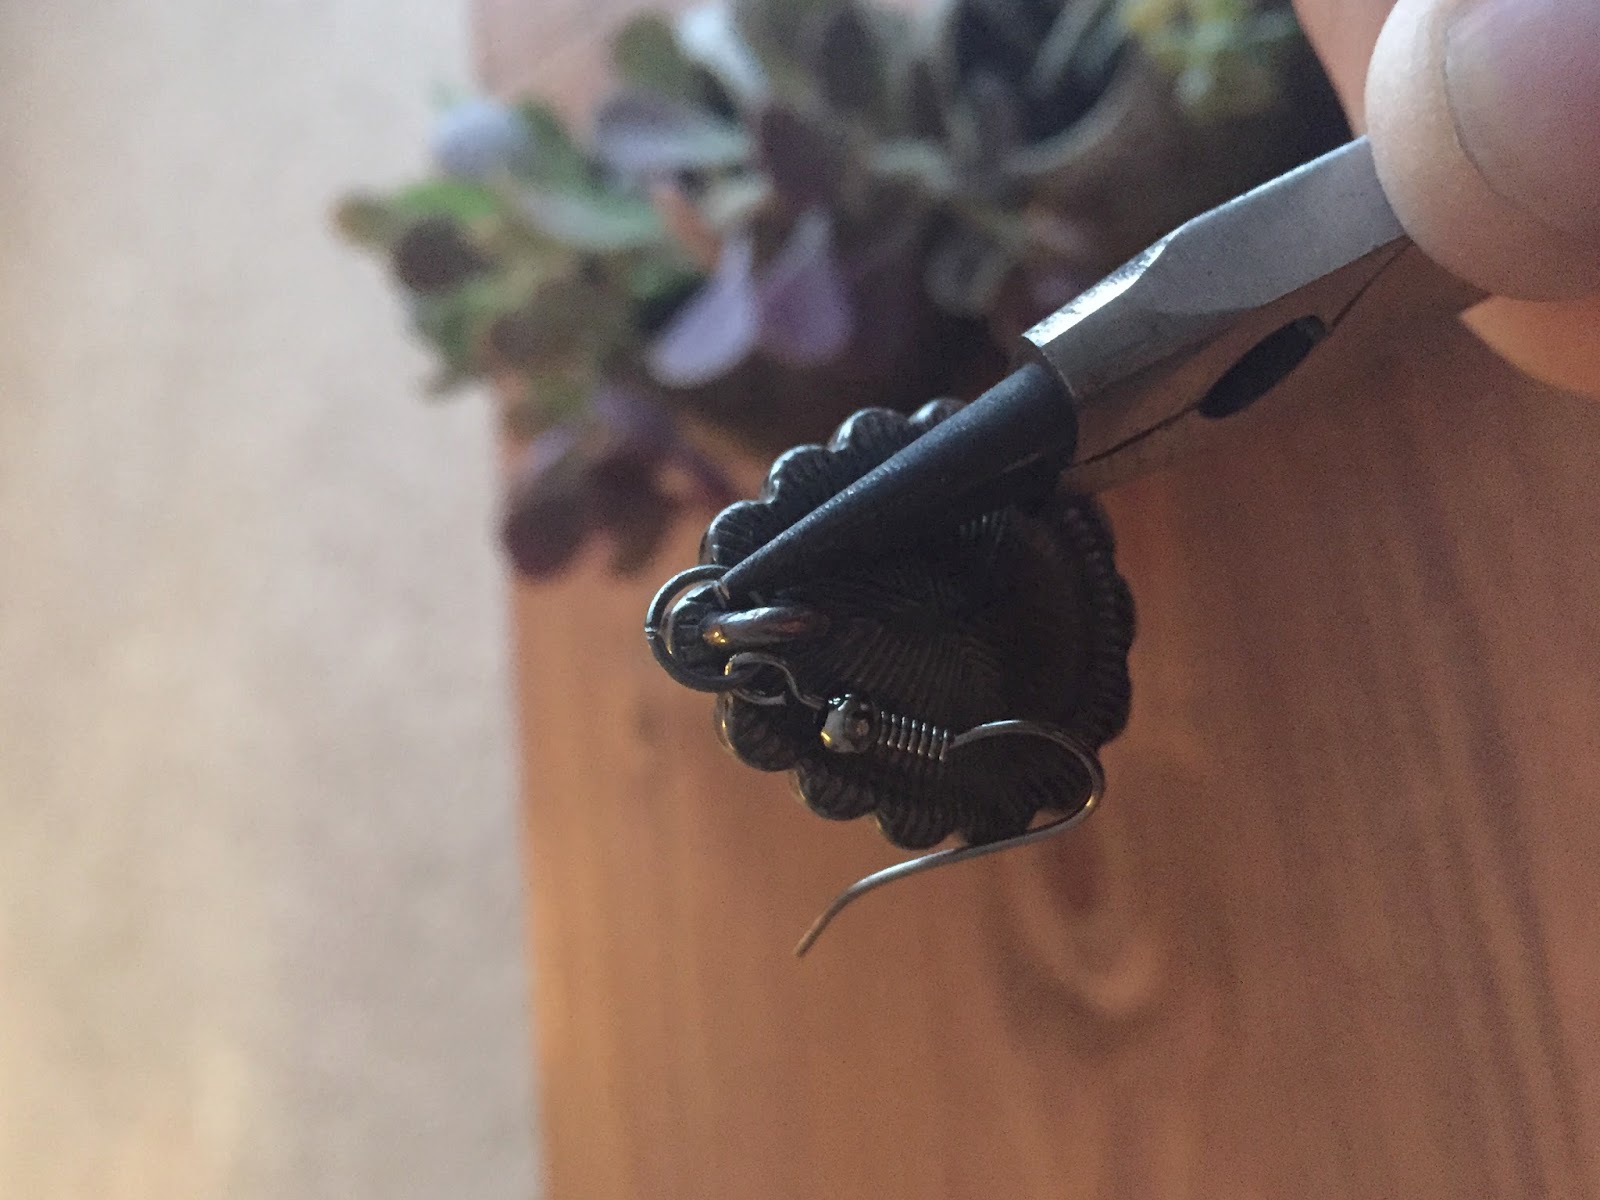
Image: xquitecreativex.blogspot.com
The allure of earrings lies in their ability to elevate any outfit, adding a touch of elegance and personality. However, accidents happen, and the delicate nature of earrings makes them susceptible to breakage. A broken earring can be a frustrating experience, especially if it holds sentimental value or is a favorite pair. Fortunately, with the right tools and a bit of patience, repairing a broken earring is an achievable task that can restore your cherished jewelry to its former glory.
This comprehensive guide will walk you through the essential steps to successfully fix a broken earring, empowering you with the knowledge and techniques to preserve your precious adornments.
Identifying the Break and Gathering Tools
Ascertaining the type of break is crucial for determining the appropriate repair method. Common types of breaks include:
- Broken post: The metal post that pierces the ear may snap off at the base or in the middle, leaving the earring detached.
- Bent post: The post may become bent or misshapen due to mishandling or accidental snags.
- Broken clasp: Clasps, such as lever-backs or fishhooks, can break or become damaged, rendering the earring unusable.
- Loose stone: Gemstones or decorative elements may detach from the earring setting.
Once you have identified the break, gather the following tools:
- Round-nose pliers
- Flat-nose pliers
- Jewelry glue (for metal earrings)
- Super glue (for non-metal earrings)
- Tweezers
- Needle
- Thread
Repairing a Broken Post
1. Straighten Bent Posts: Using the flat-nose pliers, gently grasp the bent post and reposition it to its original shape. Apply slight pressure to avoid overbending or damage.
2. Reattach a Broken Post: If the post has snapped off, it can be reattached using jewelry glue. Apply a small amount of glue to the base of the broken post and insert it into the earring mount. Hold it firmly in place for a few minutes until the glue dries.
Repairing a Broken Clasp
1. Replace Small Parts: Lever-backs and fishhook clasps may have small components, such as springs or hooks, that break or detach. If possible, replace the broken parts using tweezers or needle-nose pliers.
2. Repair Broken Springs: Lever-backs utilize small coil springs to provide tension. Using the round-nose pliers, carefully squeeze or stretch the spring to restore it to its original shape. Avoid overstretching, as this may weaken the spring.
Repairing Loose Stones
1. Reattach with Jewelry Glue: Jewelry glue is ideal for securing loose stones. Carefully apply a small amount of glue to the base of the gemstone and press it into the setting. Use a toothpick or tweezers to gently position the stone accurately. Allow sufficient time for the glue to dry completely before wearing.
2. Use Thread or Wire: For lightweight or non-metal earrings, thread or thin wire can be used to reattach loose stones. Thread the wire or string through the holes on the setting and tie it securely around the gemstone.
Conclusion
Repairing a broken earring may seem daunting, but with the right knowledge and patience, it is an achievable task. By following the step-by-step instructions outlined in this guide and utilizing appropriate tools and materials, you can restore your favorite earrings to their former glory. Whether it’s a sentimental piece or a cherished adornment, mending a broken earring not only saves you money but also preserves its value and extends its lifespan.
Remember, if the break is severe or you lack confidence in your DIY abilities, it is always advisable to seek the services of a professional jeweler for optimal results.

Image: www.smartfundiy.com
How To Fix A Broken Earring
