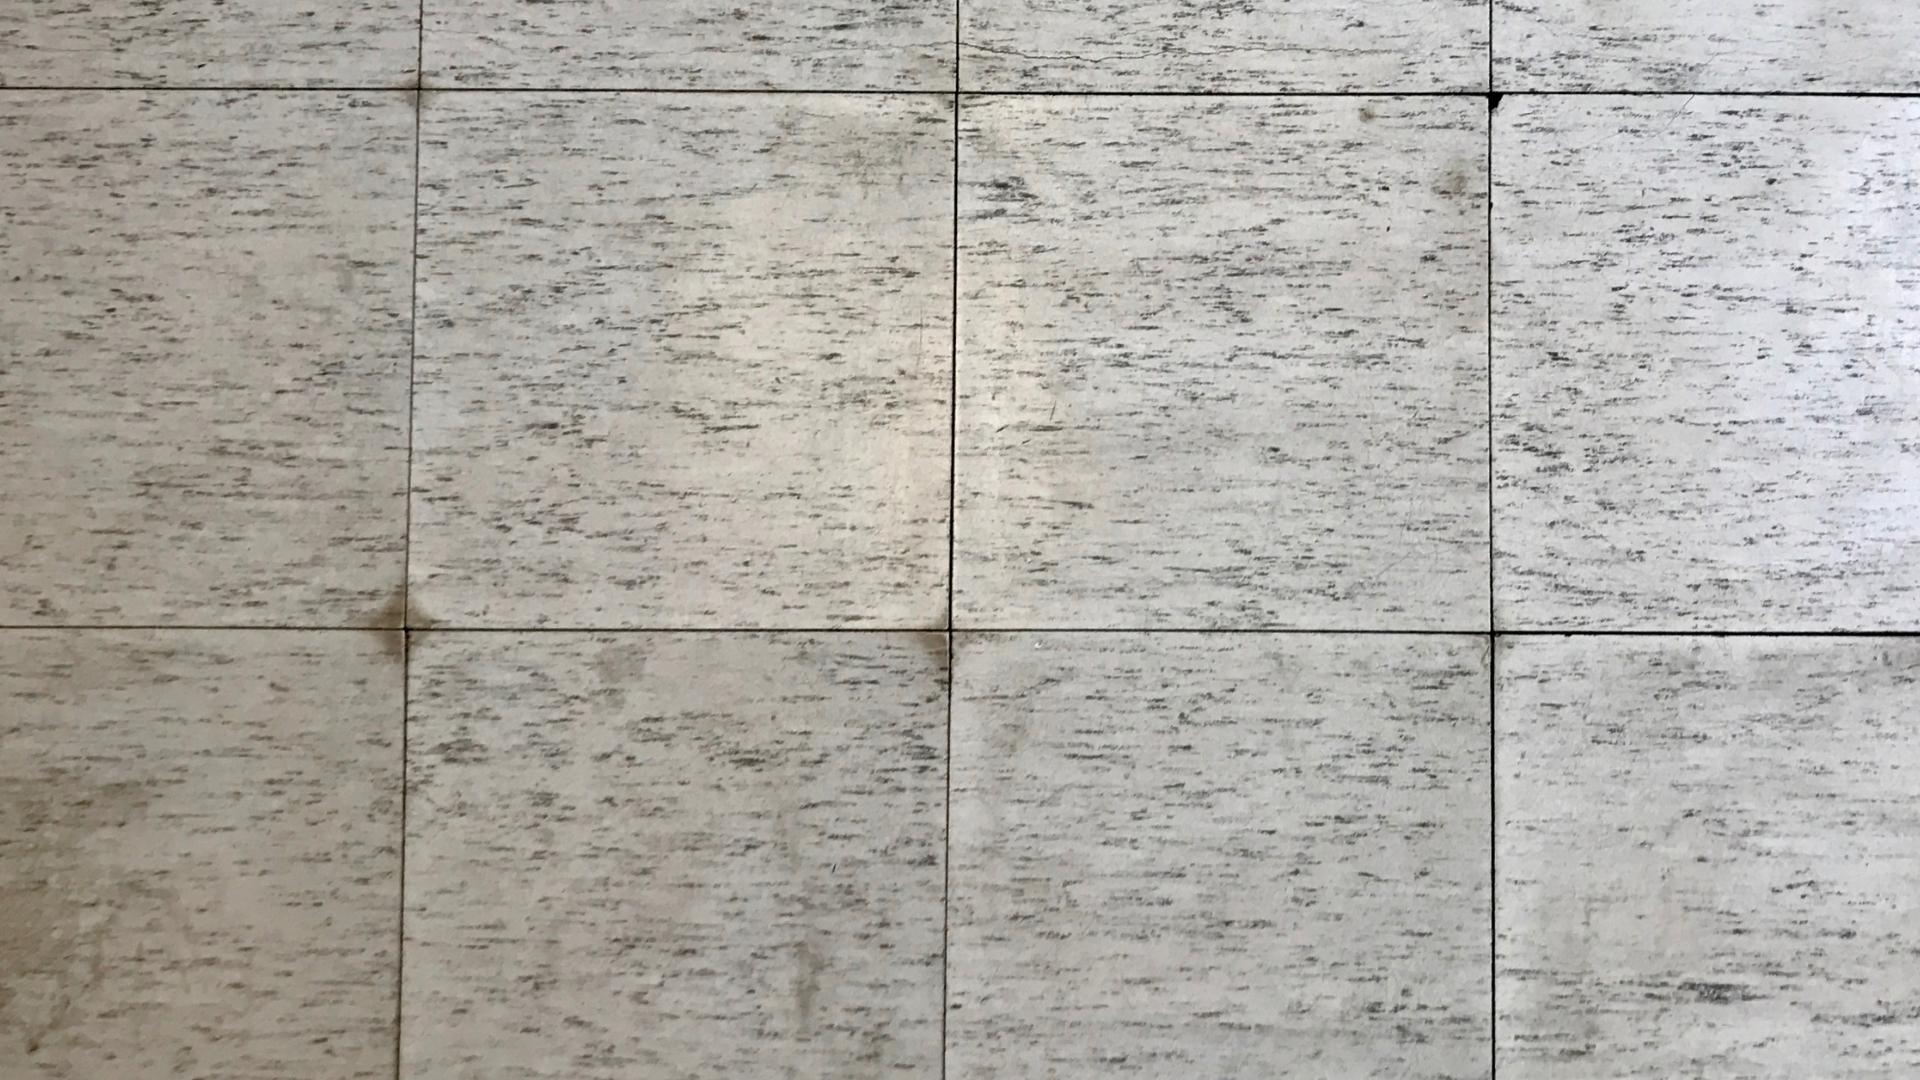
Imagine a beautiful vinyl floor, its seamless surface reflecting the soft glow of sunlight. Suddenly, a bubble appears, interrupting the harmony and marring the pristine aesthetic. Don’t despair! Fixing bubbles in vinyl flooring is a solvable problem that can restore your floor to its former glory.

Image: www.makehousecool.com
Vinyl flooring, with its durability, comfort, and design versatility, has become an increasingly popular choice for homeowners. However, like any material, it can develop imperfections, and bubbles are one of the most common. These air pockets can diminish the aesthetic appeal of your floor and, if left unattended, may even lead to damage.
Understanding the Nature of Bubbles
Bubbles in vinyl flooring typically arise due to a variety of factors:
- Improper installation: When vinyl flooring isn’t securely adhered to the subfloor, air can become trapped between the two surfaces, eventually forming bubbles.
- Moisture ingress: Excess moisture can seep into the flooring from subfloor imperfections or spills, causing the adhesive to weaken and leading to bubbles.
- Extreme temperature fluctuations: Extreme heat or cold can cause the vinyl to expand or contract, resulting in air pockets beneath the flooring.
Empowering Yourself: A Step-by-Step Guide to Bubble Banishment
Confronting bubbles in vinyl flooring is a task that most homeowners can tackle with the right tools and a meticulous approach. Here’s a comprehensive guide to help you restore your floor’s smooth and flawless surface:
-
Peel Back with Precision: Using a sharp utility knife, carefully lift a corner of the vinyl flooring at the bubble’s edge. Take care not to cut through the entire thickness of the flooring.
-
Let the Air Escape: Once the vinyl is peeled back, insert a needle or syringe into the bubble and gently press down to release the trapped air.
-
Adhesive Application: Once the air is released, apply a small amount of appropriate vinyl flooring adhesive to the underside of the vinyl and press it firmly back into place. Use a heavy object like a weight or stack of books to apply pressure and ensure proper adhesion.
-
Remove Excess Adhesive: Remove any excess adhesive that seeps out using a damp cloth or sponge. Be careful not to get any adhesive on the finished surface of the vinyl.
-
Repeat for Additional Bubbles: If multiple bubbles exist, repeat the process for each until all air pockets have been eliminated.
Wisdom from the Experts: Proven Strategies for Success
-
Expert Tip #1: Perfection Demands Patience: Allow ample time for the adhesive to dry and cure, following the manufacturer’s recommended guidelines to ensure a strong bond.
-
Expert Tip #2: Temperature Control: Keep the room temperature within the ideal range specified by the vinyl flooring manufacturer throughout the repair process and for several hours afterward.
-
Expert Tip #3: Subfloor Inspection: Before installing new vinyl flooring or repairing existing bubbles, thoroughly inspect the subfloor for any damage or unevenness that may contribute to future bubble formation.
Conclusion: A Vinyl Floor Reborn
By following these steps and embracing the wisdom of experts, you can transform your vinyl flooring from bubble-ridden to pristine. Bubbles, once an eyesore, will vanish, restoring your floor’s original beauty and prolonging its lifespan. Remember, patience and meticulous execution are the keys to achieving a seamless and flawless vinyl floor.

Image: woodflooringco.blogspot.com
How To Fix Bubbles In Vinyl Flooring