Want to know more about How To Create A Shared Mailbox In Office 365? Read this article to get the information you need.
Create a Shared Mailbox in Office 365
Picture this: you’re working on a team project and emails are flying back and forth like confetti. You’re constantly cc’ing your colleagues, trying to keep everyone in the loop. It’s chaos! But what if there was a way to streamline this process, to create a central hub where all project-related emails could be sent and received?
Enter the shared mailbox. A shared mailbox is a special type of mailbox that can be accessed by multiple users. It’s perfect for team projects, customer support, or any other situation where you need to share email responsibilities.
What is a Shared Mailbox?
A shared mailbox is a type of mailbox in Microsoft Exchange that can be accessed by multiple users. Shared mailboxes are often used for scenarios where multiple people need to monitor and respond to incoming emails, such as a support email address or a general info email address.
Shared mailboxes are different from distribution groups in that shared mailboxes have their own Exchange mailbox and can send and receive emails. Distribution groups, on the other hand, are used for sending emails to a group of people, but do not have their own mailbox.
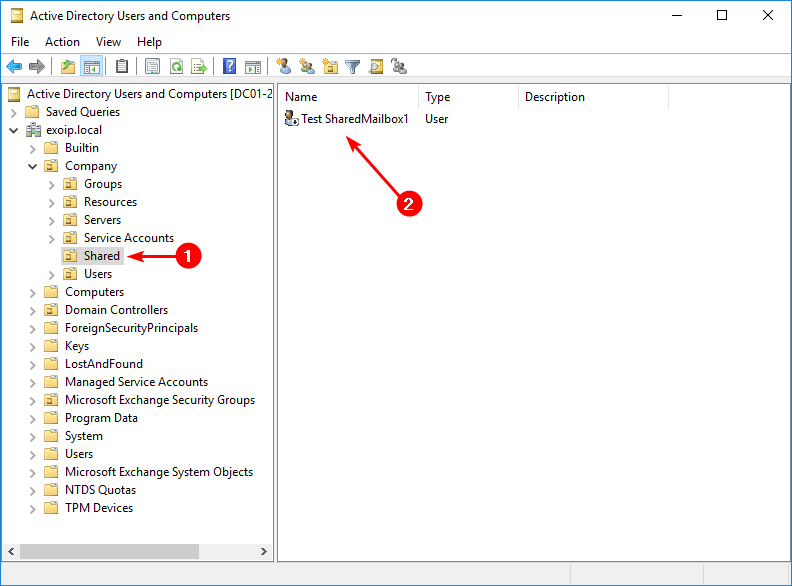
How to Create a Shared Mailbox
To create a shared mailbox in Office 365, you will need to use the Exchange admin center. Here are the steps on how to create a shared mailbox:
- Log in to the Exchange admin center.
- Go to Recipients > Mailboxes.
- Click the New mailbox button.
- In the New mailbox window, enter the following information:
- Display name: The name of the shared mailbox. This is the name that will be displayed to users when they send and receive emails from the shared mailbox.
- Email address: The email address of the shared mailbox. This is the address that users will use to send emails to the shared mailbox.
- User principal name (UPN): The UPN for the shared mailbox. This is the name that will be used to log in to the shared mailbox.
- Click the Save button.
How to Add Users to a Shared Mailbox
Once you have created a shared mailbox, you will need to add users to the mailbox so that they can access it. To add users to a shared mailbox, you will need to use the Exchange admin center. Here are the steps on how to add users to a shared mailbox:
- Log in to the Exchange admin center.
- Go to Recipients > Mailboxes.
- Select the shared mailbox that you want to add users to.
- Click the Edit button.
- In the Edit mailbox window, go to the Permissions tab.
- Click the Add button.
- In the Add permissions window, select the users that you want to add to the mailbox.
- Click the Add button.
- Click the Save button.
Tips for Using Shared Mailboxes
Here are a few tips for using shared mailboxes:
- Use a descriptive name for the shared mailbox so that users can easily identify it.
- Add only the users who need access to the shared mailbox.
- Set permissions carefully so that users only have the permissions that they need.
- Monitor the shared mailbox regularly to make sure that it is being used appropriately.
Conclusion
Shared mailboxes are a great way to streamline communication and collaboration. By following the steps in this article, you can easily create and manage shared mailboxes in Office 365.
Are you interested in learning more about shared mailboxes? Leave a comment below and I’ll be happy to answer your questions.

Image: www.vrogue.co
You have read How To Create A Shared Mailbox In Office 365 on our site. Thank you for your visit, and we hope this article is beneficial for you.
