Baseboards often get overlooked as an essential part of the room’s aesthetics. They serve numerous purposes, from preventing drafts and protecting walls to concealing unsightly transitions between the floor and walls. But when these baseboards become loose, damaged, or detach from their intended position, they can become more than just an eyesore – they can also lead to further issues in the home.
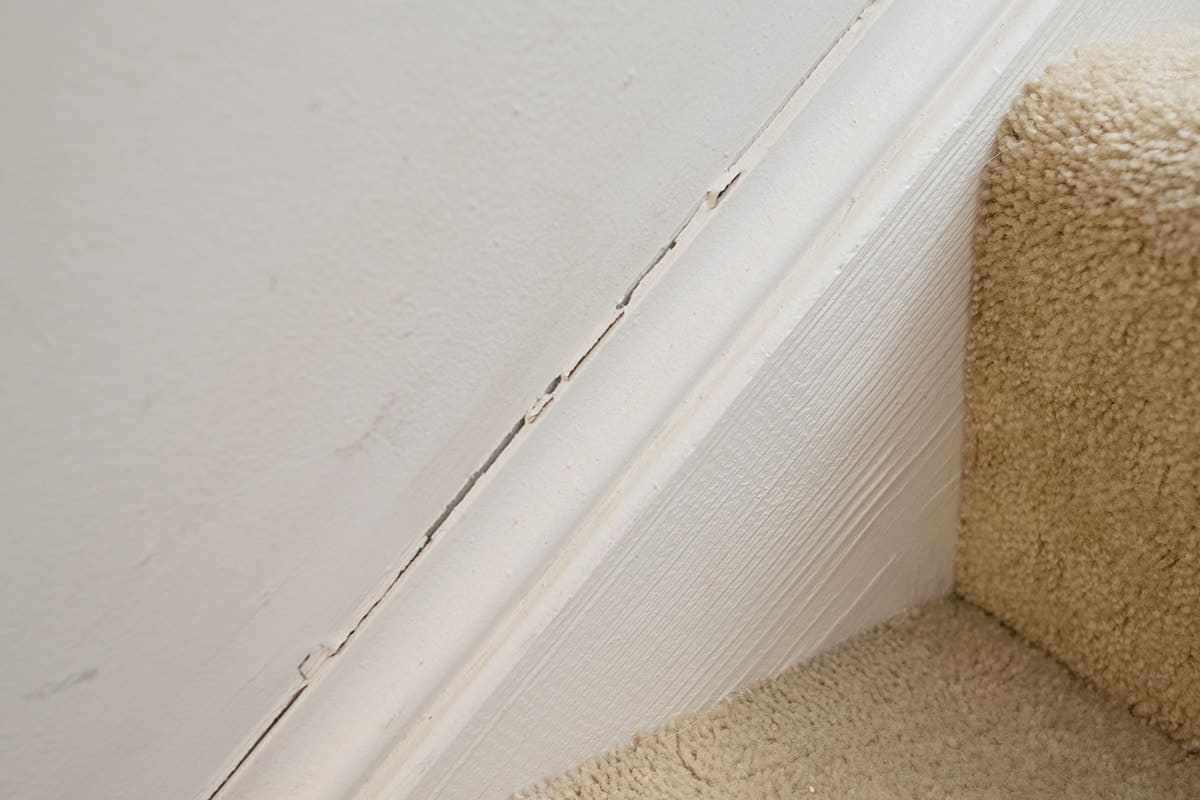
Image: www.cravingsomecreativity.com
Recognizing when it’s time to fix baseboards is essential for maintaining not just the beauty of your home, but its structural integrity. Left unrepaired, loose or damaged baseboards can invite moisture and pests into your home while compromising insulation levels. Therefore, knowing how to fix baseboards is a valuable skill every homeowner should possess. Fortunately, repairing baseboards is a task most moderately skilled DIYers can confidently tackle with some basic tools and materials.
Getting Started with Baseboard Repair
Before delving into the nitty-gritty of baseboard repair, it’s essential to have the right tools and materials at your disposal. Here’s a list to aid your preparation:
- Measuring tape
- Pencil or marking tool
- Caulk gun
- Caulk
- Wood filler
- Putty knife
- Nail gun or hammer and nails
- Sandpaper or sanding sponge
- Paint or matching stain
With your tools and materials assembled, it’s time to address the loose or damaged baseboard:
Repairing Loose Baseboards
Loose baseboards are relatively easy to fix. Follow these steps to ensure a secure fit:
-
Start by identifying the cause of the looseness. Typically, this is a result of nails or screws that have worked their way out over time.
-
Use a nail gun or hammer and nails to firmly reattach the loose baseboard to the wall. Ensure the nails or screws are driven in at an angle for maximum hold.
-
Conceal the nail or screw heads by filling them with wood filler using a putty knife. Let it dry completely, then sand the surface smooth for a finish that blends seamlessly with the baseboard.
Repairing Cracked or Damaged Baseboards
Cracked or damaged baseboards require a more involved repair process. Here’s a step-by-step guide to restore their pristine condition:
-
Assess the extent of the damage. If it’s just a small crack, you can repair it with wood filler and sandpaper; but for more extensive damage, you may need to replace the affected section.
-
For minor cracks, clean the area thoroughly and apply wood filler using a putty knife. Smooth the surface and let it dry. Once dry, sand it flush with the surrounding baseboard.
-
If the damage is more severe, cut out the damaged section using a utility knife or a handsaw. Measure and cut a new piece of baseboard to replace the damaged one.
-
Apply construction adhesive to the back of the new piece and press it firmly into place. Secure it with nails or screws, and fill any gaps with caulk.
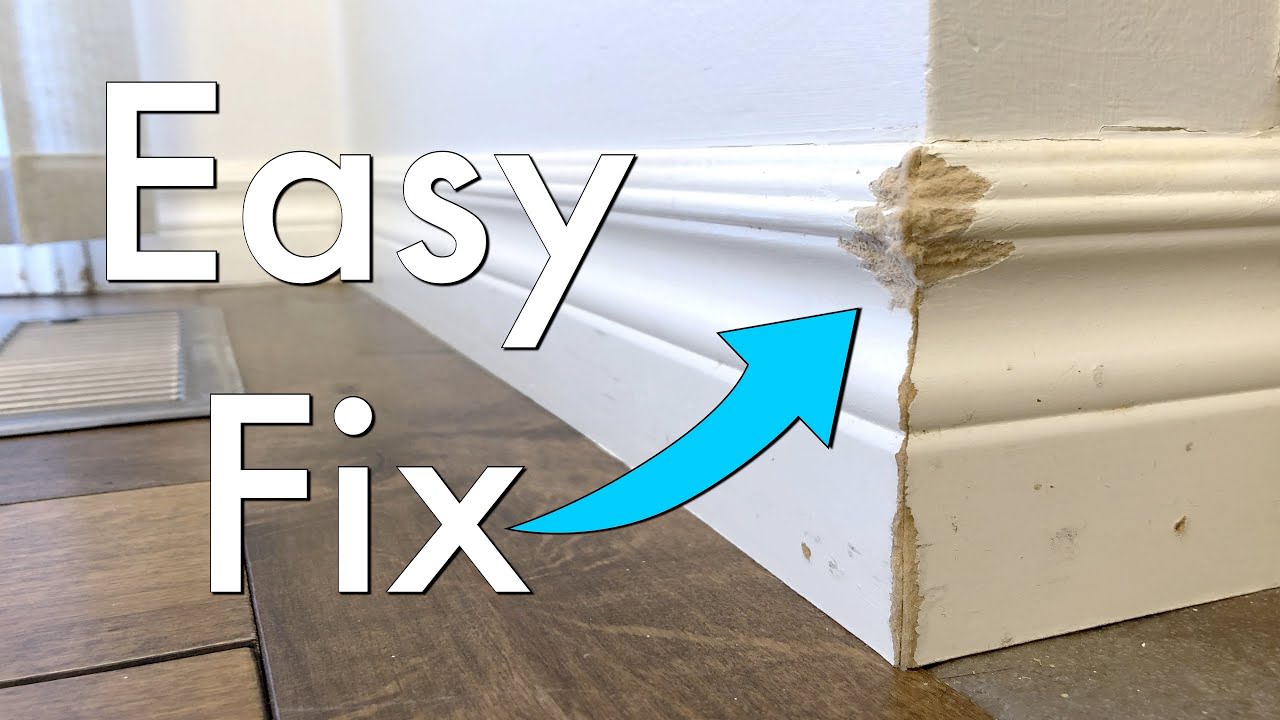
Image: www.ba-bamail.com
How To Fix A Baseboard
Finishing Touches
Once you’ve repaired the loose or damaged baseboard, the final step is to give it a finishing touch. This may involve painting it to match the existing color scheme or applying a fresh coat of stain to restore its natural beauty. With these simple steps, you can restore your baseboards to their former glory and ensure they continue to serve their aesthetic and functional purpose flawlessly.
