If you’re an audio enthusiast, there’s nothing worse than the heart-sinking realization that your subwoofer has blown. A blown subwoofer can ruin your listening experience, leaving you with distorted sound and diminished bass. But don’t despair! With the right tools and a bit of know-how, you can fix a blown subwoofer and restore it to its former glory.
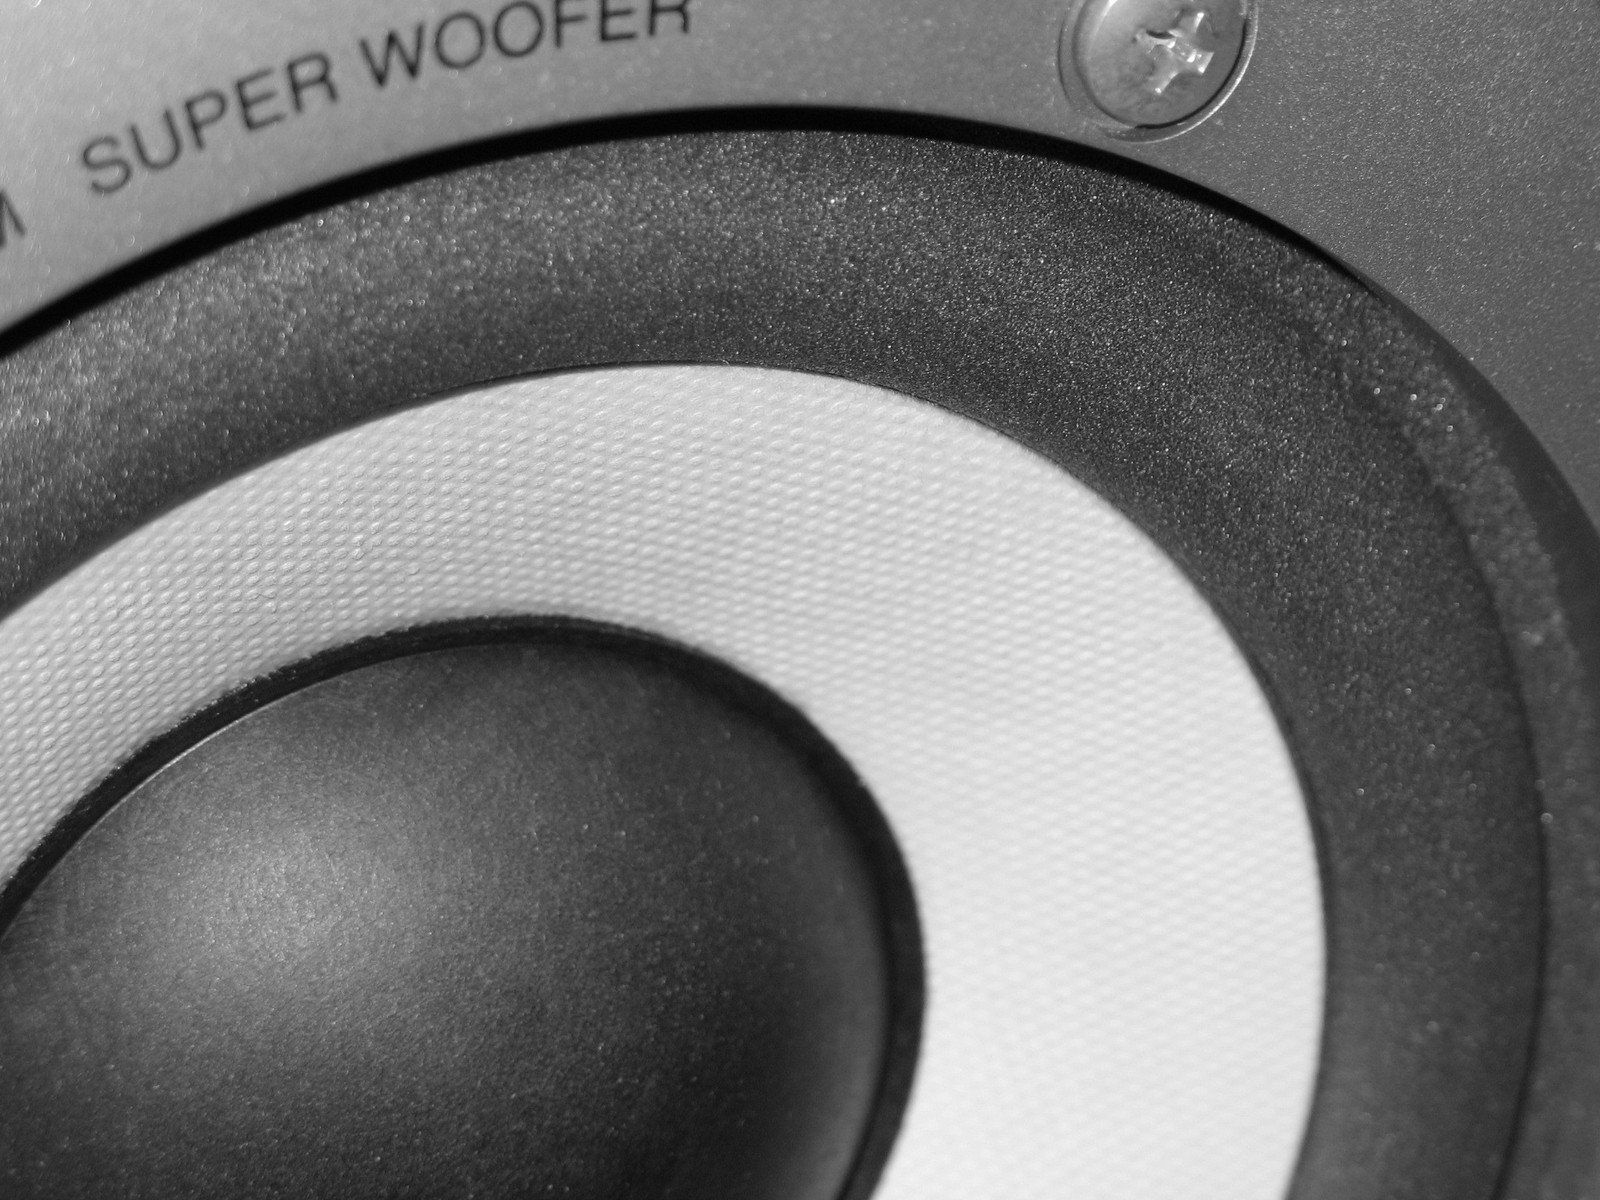
Image: richardpryn.com
Understanding Subwoofer Failure
Before we dive into the repair process, it’s essential to understand the causes of subwoofer failure. Common reasons include:
- Overpowering: Exceeding the subwoofer’s RMS (Root Mean Square) power rating by playing music too loud can damage the voice coil.
- Underpowering: Using an amplifier that doesn’t provide enough power to drive the subwoofer can cause the voice coil to overheat and fail.
- Clipping: Playing distorted audio signals can send high-energy spikes to the subwoofer, damaging the voice coil or other components.
- Physical damage: Mishandling or improper installation can cause the subwoofer cone or other parts to tear or break.
Tools and Materials You’ll Need
To fix a blown subwoofer, you’ll need the following tools and materials:
- Screwdriver set
- Torx driver (if required)
- Soldering iron
- Solder
- Multimeter
- Subwoofer repair kit (optional)
Step-by-Step Repair Guide
-
Safety First: Always disconnect the subwoofer from the power source before starting any repair work.
-
Inspect the Exterior: Examine the subwoofer for any visible signs of damage, such as tears in the cone or broken solder joints.
-
Remove the Subwoofer Driver: Most subwoofers have a removable driver. Use the appropriate tools to unscrew the bolts that secure the driver to the enclosure.
-
Disassemble the Driver: Carefully disassemble the driver by removing the bolts or screws that hold it together. Avoid touching the voice coil or magnet.
-
Inspect the Voice Coil: Look for any damage to the voice coil, such as burnt or melted windings. If the voice coil is damaged, it will need to be replaced.
-
Test the Voice Coil: Use a multimeter to test the resistance of the voice coil. A reading of 0 or infinity indicates a damaged voice coil.
-
Replace the Voice Coil: If the voice coil is damaged, follow the instructions in the subwoofer repair kit (if applicable) to remove and replace the voice coil.
-
Inspect the Cone and Surround: Check the cone and surround for any tears or breaks. If there is minor damage, you can use a subwoofer repair kit to repair the cone or surround. For extensive damage, a replacement cone or surround may be required.
-
Reassemble the Driver: Once the repairs are complete, reassemble the driver in reverse order.
-
Install the Driver Back into the Enclosure: Screw the driver back into the enclosure, carefully aligning the bolt holes.
-
Reconnect the Power: Reconnect the subwoofer to the power source and test it with a low-level signal. If the subwoofer plays normally, the repair was successful.
-
Break-In Period: Allow the repaired subwoofer to play for a period of time at a moderate volume level to break in the new voice coil.
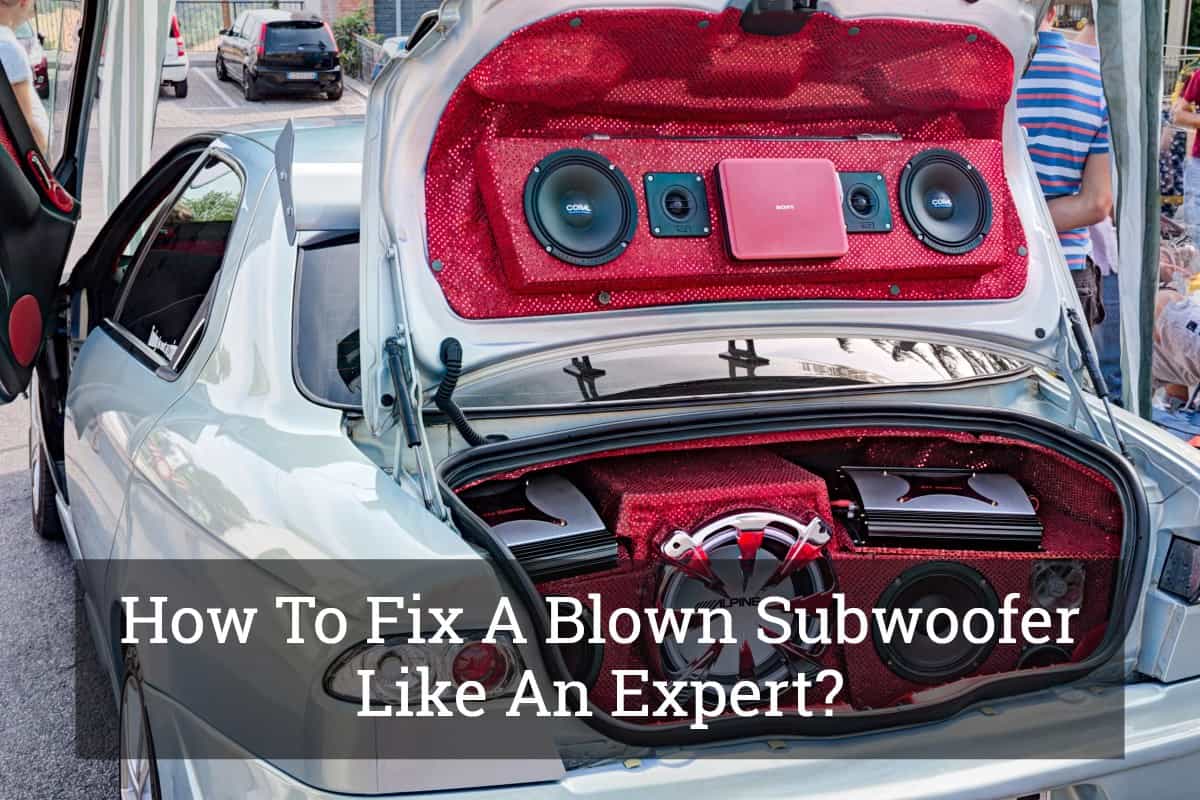
Image: drivinglife.net
How To Fix A Blown Subwoofer
Additional Tips
- If you are not comfortable repairing a blown subwoofer yourself, consider taking it to a qualified audio technician for repair.
- Use high-quality repair materials and follow the instructions carefully to ensure a successful fix.
- Invest in subwoofer protection equipment, such as a high-pass filter, to prevent overdriving and protect against damage in the future.
- If you frequently encounter blown subwoofers, consider upgrading your equipment to handle more power or selecting a subwoofer that is more durable and can withstand higher levels of abuse.
