Introduction:

Image: www.wikihow.com
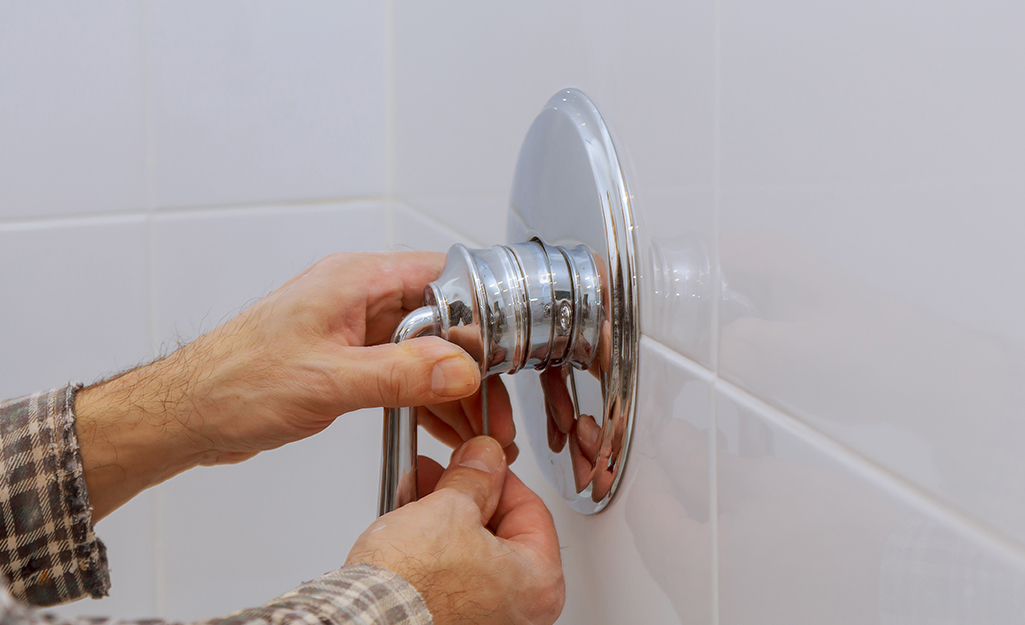
The pitter-patter of water dripping from a leaky shower faucet can not only be a nuisance but also lead to water waste and increased water bills. Fixing a leaky single-handle shower faucet may seem daunting, but it is a repair project that many homeowners can tackle on their own with the right tools and a step-by-step guide. Here, we’ll delve into the causes of faucet leaks and provide a comprehensive guide to help you get your shower up and running again without the pesky drip.
Understanding Shower Faucet Leaks:
Shower faucets commonly leak due to worn-out seals or cartridges. The seals create a watertight barrier between different components within the faucet, preventing water from escaping. Over time, these seals can deteriorate due to constant use and exposure to water, leading to leaks. Similarly, the cartridge, a cylindrical component that controls water flow and temperature, may malfunction or wear out, resulting in a leaky faucet.
Tools and Materials Needed:
- Adjustable wrench
- Hex key (Allen wrench)
- Screwdriver
- Plumber’s tape
- Replacement cartridge or seals
- Cloth or towel
Step-by-Step Repair Guide:
1. Safety First:
Before starting any repairs, turn off the water supply to the shower by closing the main shut-off valve. Open the faucet handle to release any remaining water pressure. Place a cloth or towel underneath the faucet to catch any water that may leak during repairs.
2. Remove the Handle:
Using a hex key (Allen wrench) or a screwdriver, remove the cap located at the base of the handle. Once the cap is removed, you’ll see a screw underneath. Remove this screw to detach the handle from the faucet.
3. Disassemble the Faucet:
Using an adjustable wrench, carefully loosen the packing nut located directly beneath the handle. This nut secures the cartridge or stem assembly inside the faucet. Once the packing nut is loose, pull the cartridge or stem out from the faucet.
4. Inspect the Cartridge or Seals:
Examine the cartridge or seals for signs of wear or damage. If the cartridge is corroded or damaged, it will need to be replaced. If the seals are worn, they can be replaced individually.
5. Apply Plumber’s Tape:
Wrap a few layers of plumber’s tape around the threads of the new cartridge or seal as an extra layer of protection against leaks.
6. Reassemble the Faucet:
Insert the new cartridge or seal into the faucet. Hand-tighten the packing nut to secure the cartridge or seal in place. Using the adjustable wrench, further tighten the packing nut, being careful not to overtighten.
7. Reattach the Handle:
Align the handle with the stem or cartridge and slide it back onto the faucet. Secure the handle with the screw and replace the cap.
8. Turn on the Water:
Turn on the water supply to the shower. Open the faucet handle and check for any leaks. If there is still a leak, tighten the packing nut a little more until the leak stops.
Conclusion:
Fixing a leaky single-handle shower faucet is a fairly straightforward repair that can save you money in the long run and restore your shower to its proper working condition. By following these simple steps, you can address this common household issue with confidence and get your shower back up and running smoothly. Remember to prioritize safety and have the necessary tools and materials on hand before starting the repair.

Image: retromania.cz
How To Fix Leaky Shower Faucet Single Handle
https://youtube.com/watch?v=CKjaAggbaJk