The melody of a perfectly functioning toilet handle, with its smooth glide and decisive flush, is a comforting symphony in the symphony of daily life. However, when this harmony is disrupted by a sticky, sluggish handle, it can turn a simple task into an exercise in frustration. Let’s dive into the inner workings of this seemingly simple mechanism and equip ourselves with the know-how to restore its harmonious operation.

Image: www.wikihow.com
Whether you’re a seasoned DIY enthusiast or a plumbing novice, understanding the anatomy of a toilet handle is the first step in troubleshooting its quirks. At its heart is the flush valve, a complex assembly responsible for releasing the tank’s contents into the bowl. The handle, when depressed, triggers a series of levers and springs within this valve, initiating the flushing process. However, over time, accumulation of minerals, grime, or wear and tear can hinder this intricate dance, resulting in a sticky, hesitant handle.
Step 1: Isolate the Problem
Before embarking on repairs, it’s essential to pinpoint the source of the sticky resistance. Depress the handle repeatedly and observe the movements inside the tank. If the flapper or chain moves smoothly but the handle remains stiff, the problem likely lies within the handle assembly itself.
Step 2: Replace the Handle Assembly
If localizing the issue to the handle, replacing the entire assembly is often the most direct and effective solution. Begin by turning off the water supply to the toilet and flushing to drain the tank. Locate the nut securing the handle to the tank and remove it using an adjustable wrench or pliers. Grip the handle firmly and pull it straight up to detach it from the tank. Installation of the new handle is as simple as reversing these steps, ensuring the nut is securely tightened.
Step 3: Clean and Lubricate the Handle Components
If replacing the handle assembly doesn’t resolve the issue, cleaning and lubricating the components may be the key. Remove the handle as described in Step 2 and proceed to disassemble the assembly by unscrewing the two screws that hold it together. Carefully separate the handle components and inspect them for any visible grime or obstructions. Use a soft cloth and mild cleaning solution to wipe away any buildup on the handle, springs, and lever arms. Afterward, apply a small amount of petroleum jelly or plumber’s grease to the contact points of the assembly. Reassemble the handle and reinstall it onto the tank.
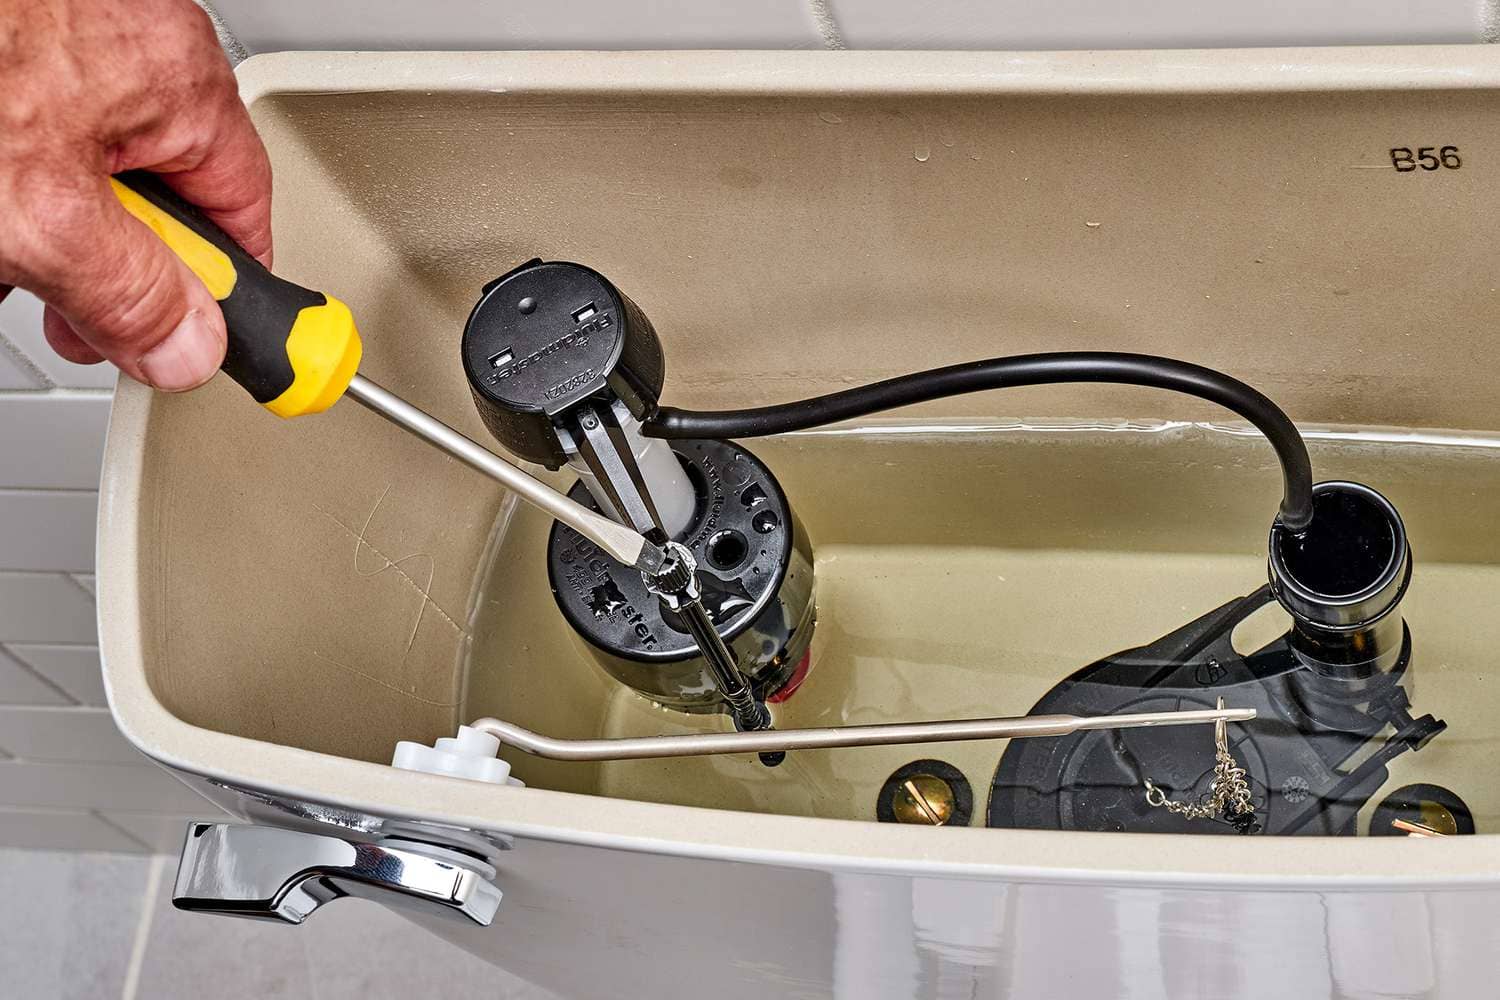
Image: tidyingup.com
Step 4: Check the Handle’s Alignment
Proper alignment between the handle and the flush valve is crucial for smooth operation. Ensure that the handle is positioned at a right angle to the tank and parallel to the floor. Adjust the handle’s position slightly if necessary, ensuring it engages with the flush valve mechanism effectively without any binding or excessive friction.
Step 5: Seek Professional Assistance
If all attempts at home repairs have proven unsuccessful, don’t hesitate to seek professional assistance from a qualified plumber. They possess the expertise to diagnose and resolve complex issues within the toilet’s flushing mechanism, restoring its functionality swiftly and efficiently.
How To Fix Sticky Toilet Handle
Conclusion
Reclaiming the smooth, effortless operation of your toilet handle is an attainable task with proper guidance. Whether you choose to replace the assembly, clean and lubricate the components, or consult a professional, these steps will empower you in tackling this household conundrum. Remember, a well-functioning toilet not only enhances your daily comfort but also ensures a hygienic and efficient water usage routine.
