For the discerning car enthusiast, pristine rims are not just an accessory but an extension of their vehicle’s personality. Scratches on those gleaming chrome surfaces can be akin to a throbbing toothache, causing a constant dull ache of dissatisfaction. While some may opt for costly professional repairs or even replacement, there are effective DIY methods that can restore your chrome rims to their former glory without breaking the bank. In this comprehensive guide, we delve into the steps involved in repairing rim scratches on chrome, empowering you to revive the allure of your ride.

Image: teslatuneup.com
Understanding the Nature of Chrome and Scratches
Chrome, a highly reflective metallic finish, is applied to rims to enhance their aesthetic appeal and durability. However, despite its resilience, chrome is not immune to the occasional scuff or scratch, often caused by minor collisions, improper cleaning techniques, or road debris. These blemishes can range from superficial surface scratches to deeper gouges that penetrate the underlying metal. The repair approach depends on the severity of the scratch.
DIY Techniques for Scratch Removal: A Step-by-Step Approach
1. Assess the Damage
Before embarking on the repair process, meticulously inspect the rim to determine the nature and extent of the scratches. This assessment will help you select the appropriate repair method.
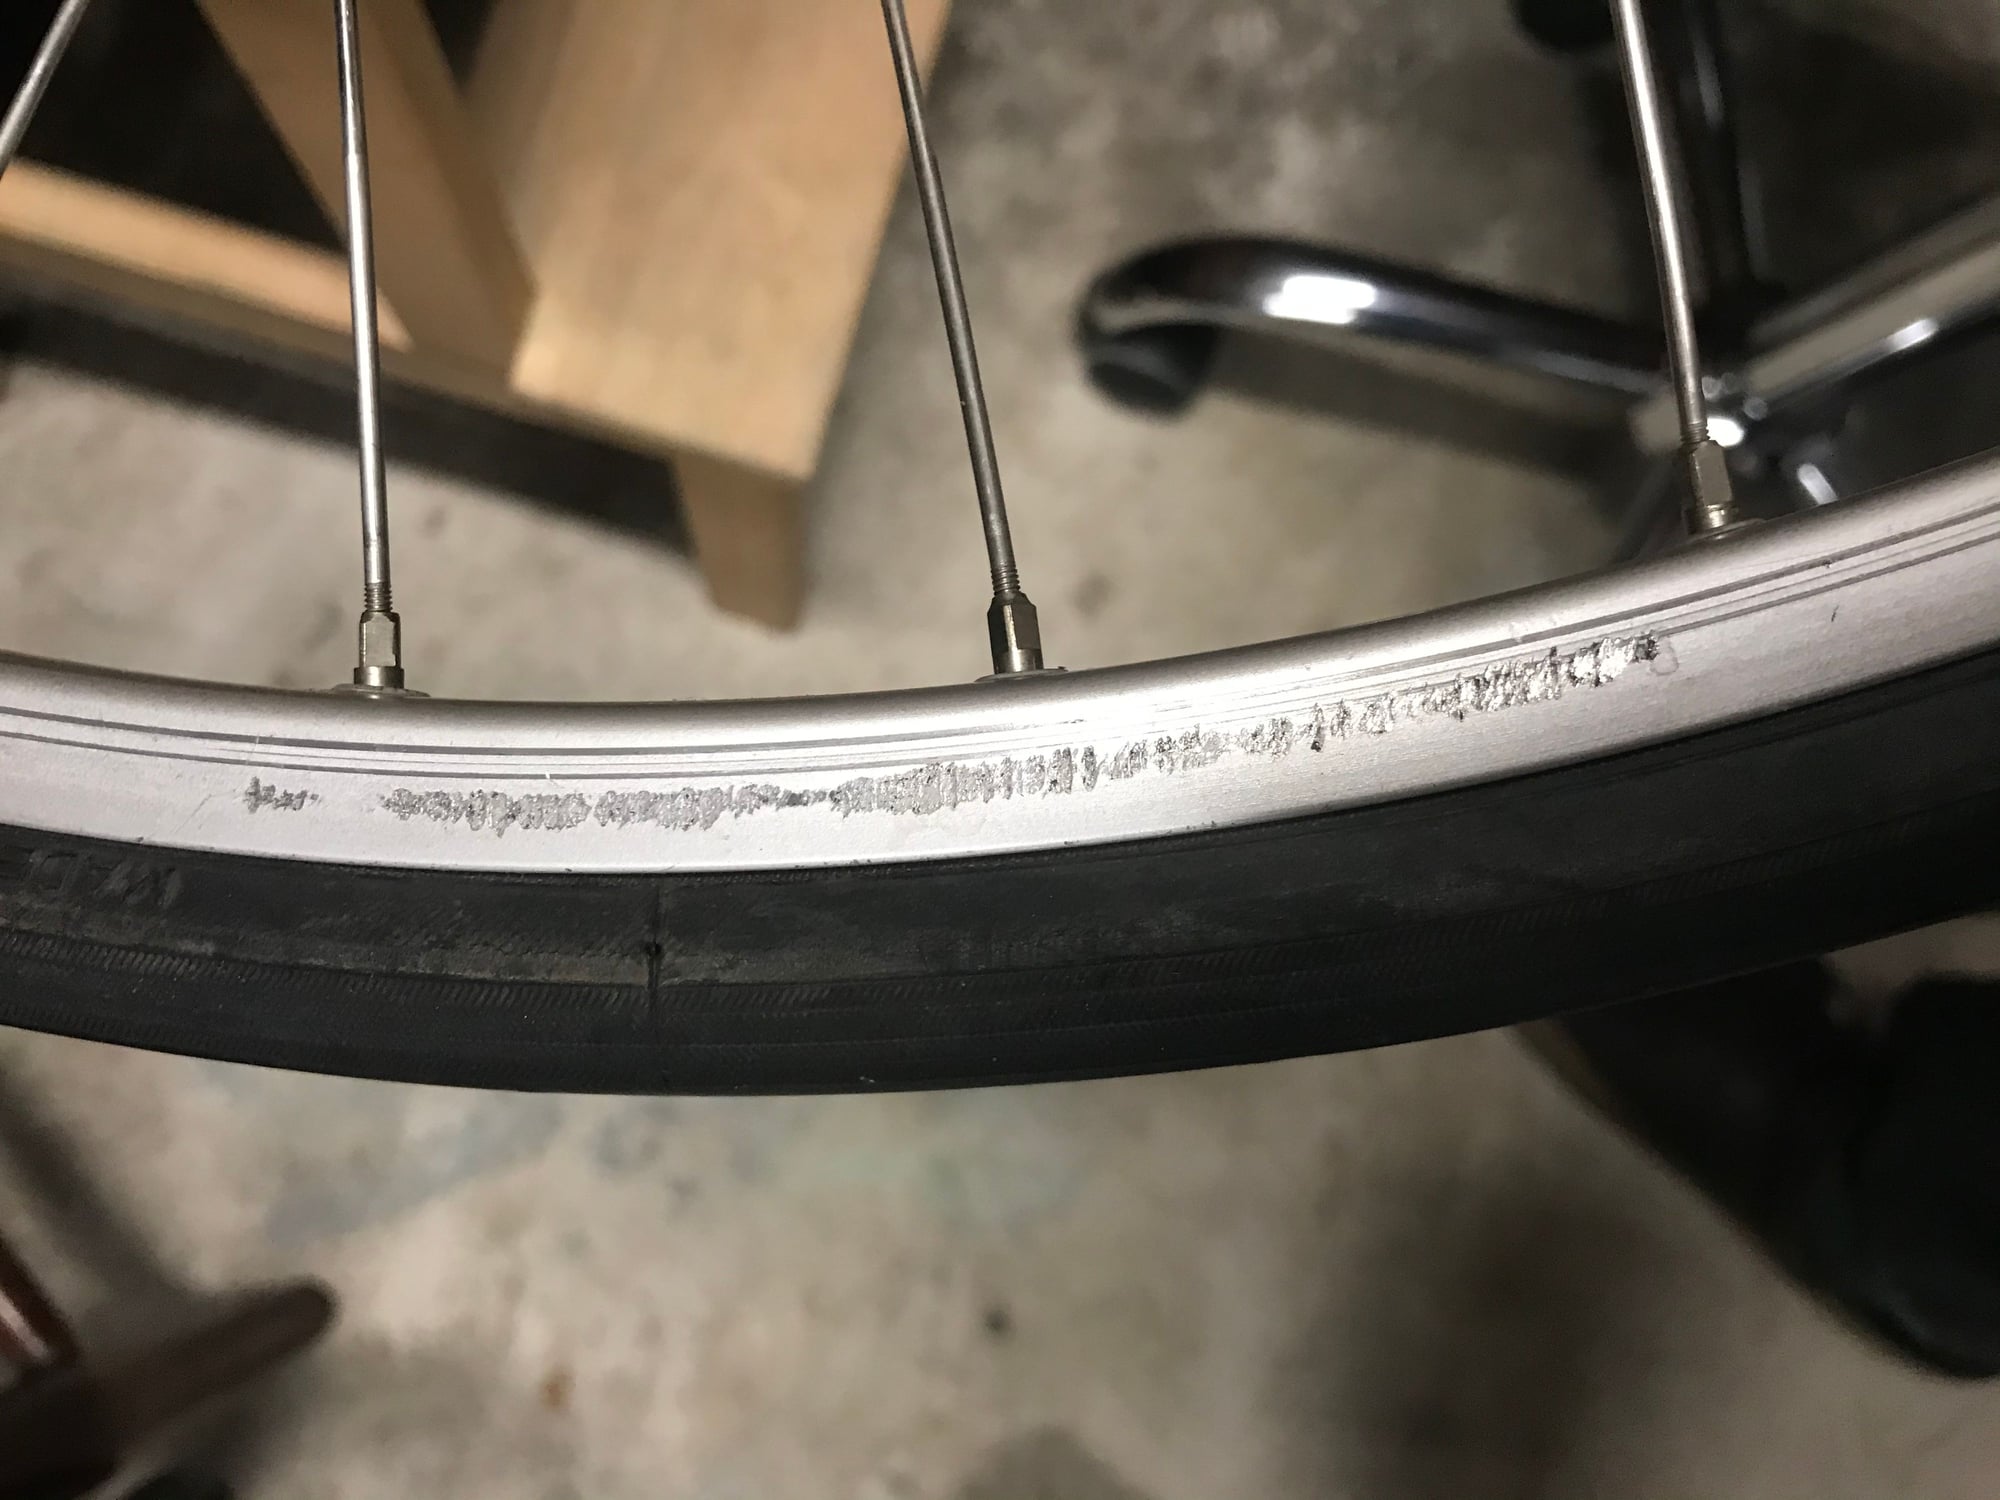
Image: www.bikeforums.net
2. Cleaning and Preparation
Thoroughly clean the affected area using a mild detergent or degreaser to remove dirt, grime, or any other contaminants. This step is essential for ensuring proper adhesion of the repair materials.
3. Minor Surface Scratches
For superficial scratches that have not breached the chrome surface, a metal polish can be employed. Apply the polish to a soft cloth and gently rub it in a circular motion over the scratched area. Wipe away any excess polish to reveal a restored surface.
4. Deeper Grooves and Gouges
Scratches that have penetrated the chrome layer require a different approach. Start by sanding the damaged area using a fine-grit sandpaper (1200 or higher). Gradually increase the grit to smooth out the surface and remove any burrs or jagged edges.
5. Chrome Touch-Up Paint
Once the scratch has been sanded, apply a chrome touch-up paint to restore the original finish. Use a small brush or cotton swab for precise application, and allow the paint to dry completely.
6. Clear Coat Protection
To protect the repaired area from further damage, apply a clear coat over the touch-up paint. This transparent layer will provide an extra layer of resilience against abrasion and the elements.
7. Polishing and Buffing
Once the clear coat has dried, polish the repaired section using a metal polish and a soft cloth. This will remove any excess clear coat and impart a gleaming finish.
Choosing the Right Repair Products: A Guide to Essential Materials
The key to successful rim scratch repair lies in selecting the right products. Here’s a rundown of the essential materials:
- Mild detergent or degreaser
- Fine-grit sandpaper (1200 or higher)
- Chrome touch-up paint
- Clear coat
- Metal polish
- Soft cloths or cotton swabs
Preventive Measures: Protecting Your Rims from Future Scratches
Prevention is always better than cure. Follow these tips to minimize the risk of future scratches on your chrome rims:
- Avoid contact with sharp objects or abrasive surfaces.
- Use proper cleaning techniques, avoiding harsh detergents and abrasive brushes.
- Invest in wheel covers or rim protectors for added protection.
- Park in shaded areas to shield your rims from UV damage and oxidation.
How To Fix Rim Scratches On Chrome
Conclusion
Repairing rim scratches on chrome is not as daunting as it may seem. With the right techniques and materials, you can effectively restore the pristine condition of your rims, giving your vehicle that showroom shine once again. By following the steps outlined in this guide and implementing preventive measures, you can enjoy the satisfaction of a scratch-free chrome finish for years to come. Remember, with a little patience and care, you can keep your ride looking its best, leaving other drivers with a polished impression of your automotive expertise.
