Door gaps at the bottom can be a nuisance, letting in cold air, bugs, and dust. Not to mention, they can make your home less energy-efficient, leading to higher utility bills. But don’t worry, fixing door gaps is a relatively easy task that you can tackle on your own. In this comprehensive guide, we’ll provide step-by-step instructions, tips, and tricks to help you fix door gaps at the bottom like a pro.

Image: readytodiy.com
Understanding Door Gaps: Why They Occur and How to Identify Them
Door gaps are typically caused by uneven flooring, settling of the house, or wear and tear over time. To identify if your door has a gap at the bottom, simply close the door and look for light shining through. If you can see light, it means there’s a gap that needs to be addressed.
Step-by-Step Guide to Fixing Door Gaps at the Bottom
Before you start, gather the necessary tools: a measuring tape, utility knife, door gap filler, caulk gun, and optional weatherstripping.
1. Measure the Gap
Use a measuring tape to determine the width of the gap at the bottom of the door. This will help you choose the right size door gap filler.
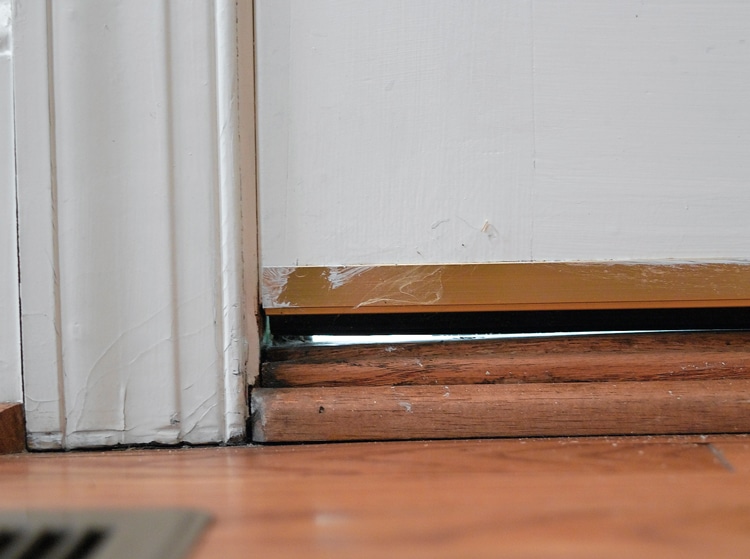
Image: t-h-e-door.blogspot.com
2. Prepare the Door
Clean the bottom of the door thoroughly to remove any dirt or debris that might interfere with the adhesive. If necessary, use a utility knife to trim any excess material from the door’s bottom.
3. Apply the Door Gap Filler
Choose a door gap filler that matches the width of the gap. Peel off the backing from the door gap filler and press it firmly into place along the bottom of the door. Make sure it’s completely adhered to the door.
4. Caulk the Gap
Apply a bead of caulk along the top edge of the door gap filler. Use a damp finger to smooth out the caulk and create a seal. Allow the caulk to dry completely according to the manufacturer’s instructions.
5. Install Weatherstripping (Optional)
For added protection, consider installing weatherstripping around the door frame. This will help prevent air and moisture from leaking through the sides of the door. Use a utility knife to cut the weatherstripping to size and apply it according to the manufacturer’s instructions.
Tips and Tricks for Effective Door Gap Sealing
- Start by fixing the most significant gaps first.
- Use a high-quality door gap filler and caulk for best results.
- If the gap is too wide for a door gap filler, consider using a foam insulation strip or a door sweep.
- If you’re not comfortable working with caulk, hire a professional to do it for you.
- Regularly inspect door gaps and make repairs as necessary to maintain energy efficiency and comfort.
Benefits of Fixing Door Gaps
Fixing door gaps at the bottom offers numerous benefits:
- Reduced heat loss and improved energy efficiency
- Decreased air infiltration, resulting in less drafts and a more comfortable indoor environment
- Improved soundproofing
- Protection against bugs and pests
- Prevention of moisture and water damage
How To Fix Door Gap Bottom
Conclusion
Fixing door gaps at the bottom is an essential home maintenance task that can make a big difference in your comfort and energy bills. By following the steps outlined in this guide, you can easily seal up those gaps and enjoy a more draft-free, energy-efficient home. If you have any questions or encounter any issues during the repair process, don’t hesitate to seek professional assistance for the best results.
